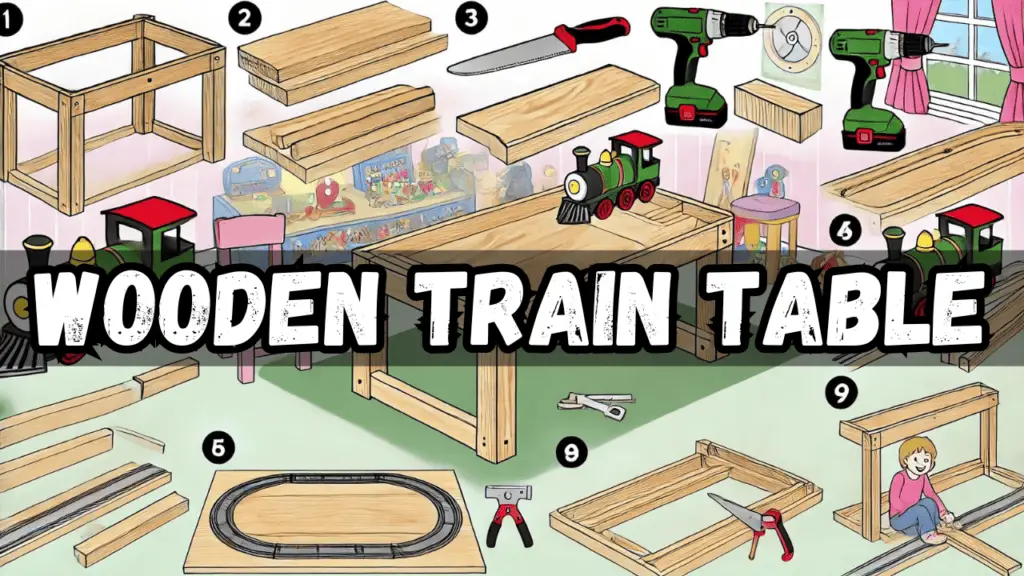
Building a wooden train table can be a fulfilling and practical project, especially if you have a little one who loves playing with train sets. Not only does a train table provide a dedicated space for imaginative play, but it also helps keep the train set organized and off the floor. In this guide, we’ll walk you through the steps to build a sturdy and attractive wooden train table that will be the perfect centerpiece for hours of fun.
Materials and Tools You’ll Need
Before you start, gather the following materials and tools:
Materials:
- 1 sheet of plywood (¾ inch thick)
- 2×4 lumber for the table frame
- 4×4 lumber for the legs
- Wood screws (2 ½ inches and 1 ½ inches)
- Wood glue
- Sandpaper (medium and fine grit)
- Wood filler
- Paint or wood stain
- Polyurethane finish (optional)
- Felt or rubber pads (for the bottom of the legs)
Tools:
- Measuring tape
- Pencil
- Circular saw or table saw
- Drill and drill bits
- Screwdriver
- Clamps
- Sander or sanding block
- Paintbrushes or rollers
- Safety glasses and hearing protection
Step 1: Design Your Table
Start by deciding the dimensions of your train table. A common size is around 4 feet long by 2.5 feet wide, but you can adjust the size based on your space and the train set you have. The height of the table should be comfortable for your child to reach, typically around 16 to 18 inches tall.
Sketch your design on paper, including the dimensions of the tabletop, frame, and legs. This will serve as your blueprint.
Step 2: Cut the Plywood and Lumber
Once your design is finalized, use a circular saw or table saw to cut the plywood to the desired size for the tabletop. Then, cut the 2×4 lumber to create the frame that will support the plywood. The frame should be slightly smaller than the plywood to allow for a slight overhang.
Cut the 4×4 lumber to the desired height for the table legs.
Step 3: Assemble the Frame
Lay the 2×4 pieces on a flat surface to form a rectangular frame. Apply wood glue to the joints, and then secure the frame with 2 ½-inch wood screws. Make sure the frame is square by measuring diagonally from corner to corner.
Step 4: Attach the Legs
Attach the 4×4 legs to the inside corners of the frame using wood glue and 2 ½-inch screws. Use clamps to hold the legs in place while you secure them. Make sure the legs are aligned properly and the table is level.
Step 5: Attach the Plywood Top
Place the plywood on top of the frame. Make sure it is centered, with an even overhang on all sides. Secure the plywood to the frame with 1 ½-inch wood screws, driving them in from the top. Space the screws evenly around the perimeter to ensure a strong bond.
Step 6: Sand and Finish the Table
Sand the entire table, starting with medium-grit sandpaper and finishing with fine-grit sandpaper. This will smooth out any rough edges and prepare the wood for finishing.
If there are any gaps or screw holes, fill them with wood filler and sand them smooth once dry.
Step 7: Paint or Stain the Table
Choose a paint or wood stain that matches your desired aesthetic. If painting, apply a primer first, then follow with two coats of paint. If staining, apply the stain with a brush or cloth, following the wood grain. Allow it to dry between coats.
For added protection, consider applying a coat of polyurethane finish. This will make the table more durable and easier to clean.
Step 8: Add Finishing Touches
To protect your floors, attach felt or rubber pads to the bottom of the legs. You can also add additional features, such as a raised edge around the tabletop to prevent trains from falling off or storage bins underneath for extra pieces.
Step 9: Set Up and Enjoy
Once the finish is completely dry, set up the train table in your child’s play area. Arrange the train tracks and accessories, and let the fun begin!
Conclusion
Building a wooden train table is a rewarding project that can provide years of enjoyment for your child. By following this step-by-step guide, you’ll create a durable and attractive piece of furniture that not only enhances your child’s playtime but also adds to the overall organization of their toys. With a little time and effort, you’ll have a train table that’s built to last and perfectly suited to your space and needs.


