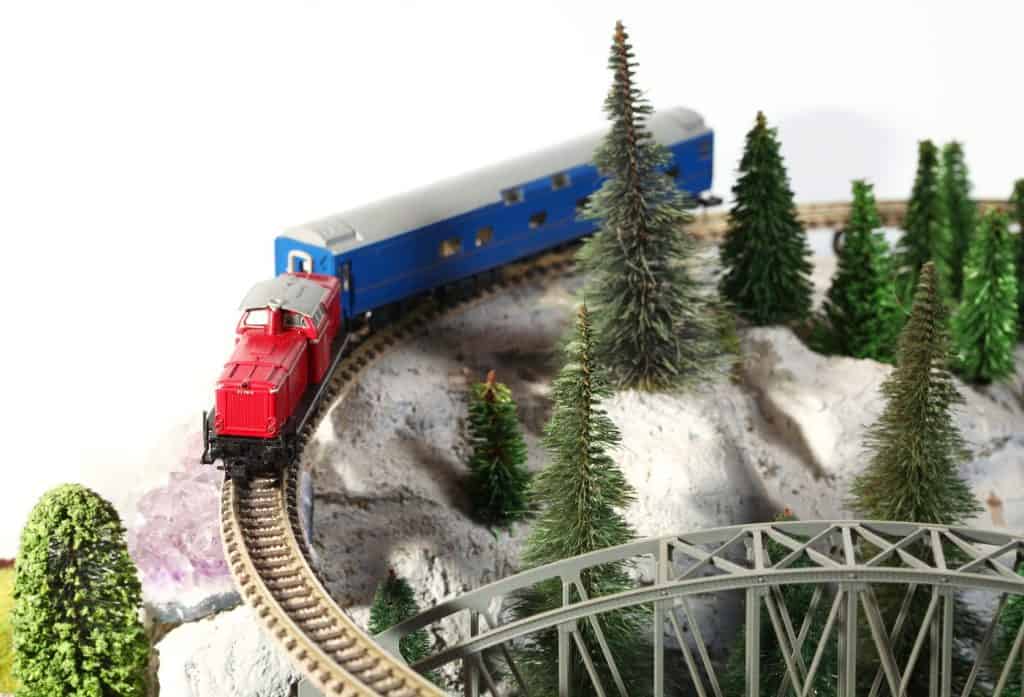
Are you trying to create your own scenery of a model railroad for your model trains ho scale? Are you afraid of wasting your effort to a result that would not be satisfactory to you or your kids? Fortunately for you, we are here to provide you with some pro-tips and detailed guide on how to make trees for model railroad, all by yourself!
You can actually save a great amount of money rather than buying a ready-made railroad train layout online or at any toy or train store. Those products usually comes at a price and being resourceful enough to gather the crafting things for a cheap price would cut the difference in almost half. The downside would be producing a failed result, but then again we are here to make things easier for you!
The moment you have made your first model railroad scenery, the 2nd, 3rd and so on, will be easier than before. It will help you build the confidence you need and enhance your crafting skills along with your imagination and creativity!
What Things Do You Need?
Following our post about “The Best Athearn Model Trains”, this would be a perfect time to start decorating your railroad model scenery as it would really look perfect for your model ho scales or other scales of model trains.
This guide would prefer a SuperTree for a perfect scale model tree from Scenic.
These trees can also work out to be a perfect bush or brushes to add more details to your existing terrain model scenery. Other materials would be:
- Matte medium solution.
- Newspaper.
- Laundry clips or pins.
- Cheap or economical spray paints with colors preferably grey tan, brown and black for the color of your tree trunk and a mix of green and yellow for foliage colors.
- Cheap or economical hair spray.
- Ground foam preferably dark green color but can also be any color available as we have our spray paint to cover.
- Styrofoam.
- Glue.
- Tweezers.
- Empty box.
It is just a list of the basic materials you need to create an ideal tree for your scenery model railroad but you can also add other materials to fit your idea or to substitute the uses of each materials in our list. All these are fairly affordable and could make you so many miniature trees which is far more than purchasing a ready-made miniaturized tree.
Step-by-Step Process in Making Your Miniaturized Tree
Step 1 – Drying and Hardening the SuperTree
The first step could be done overnight or a few minutes on a sunny day. All you need here is your SuperTree from Scenic, the Matte Medium Solution and, clips or pins, newspaper and a place to hang the trees.
We would prefer an overnight drying over the weekend so you can start right away the next morning and not have to wait minutes to hours of drying but the choice would be up to you, whichever you find comfortable and time-saving.
- Open up your pack of Scenic SuperTree and look for twigs that are much more likely to have a natural tree shape. You can also settle for something close as the drying and hardening process would fix the problem.
- Check the trees you have picked if whether or not it has some large/small unnatural looking leaves and use the tweezers to pick them out or remove.
- Put all the trees you have selected into one place, a container or a large bowl.
- Mix your solution with one part matte medium to 5 parts of water.
- Pick your trees out and let it soak on the solution you have mixed for at least 2 to 3 minutes.
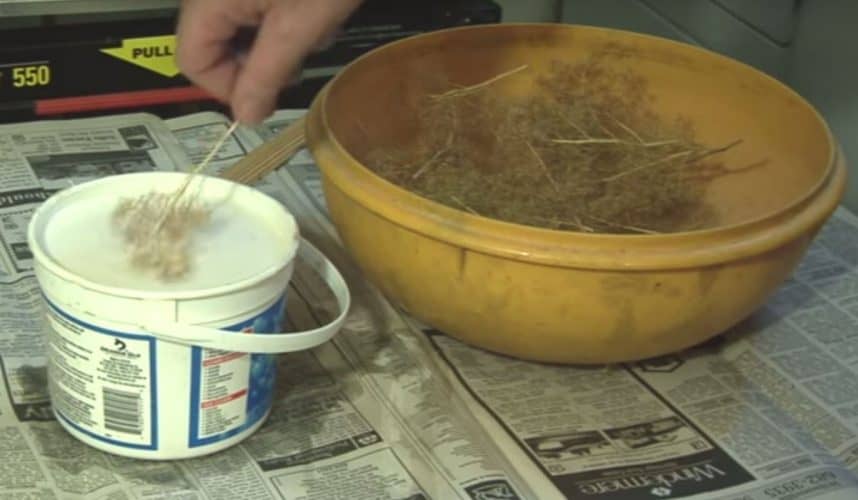
- Remove the soaked twigs and tap it on top of a newspaper to get rid of the excess solution.
- Clip the trees on a viable area where you can hang them to dry out. You might also want to place a clip on the other end of each tree as a counter weight to straighten each of them.
- Dry them overnight or few minutes/hours under the sun.
This process will allow the matte medium to become tough and rubbery that covers your tree, making it strong, highly durable and resistant against damage. Do as many trees as you can or depending on the requirements of your layout.
Step 2 – Adding Color Details To the Tree
After concluding step 1 and the trees have dried out. You can now proceed on painting there trunk. This is where you are going to need your spray paint and your Styrofoam.
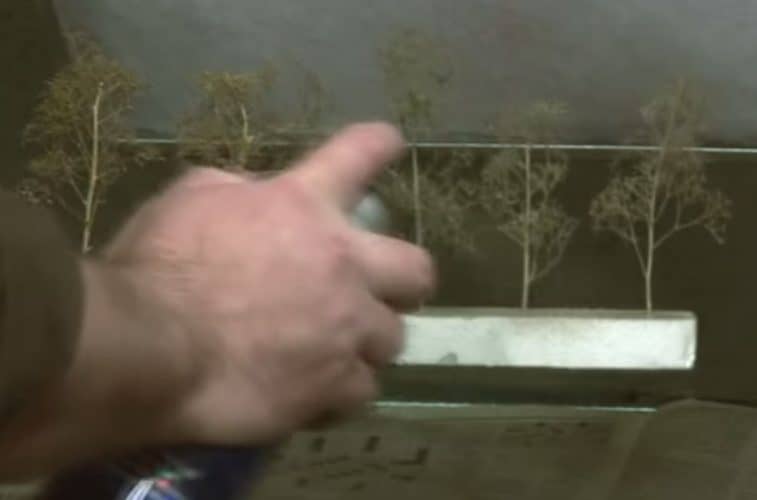
- First, place the trees on the Styrofoam and make it stand on the pointy edge. Place as many trees that could fit in your Styrofoam to save you some time.
- The first color you will apply is the tan. Make sure that you spray at the proper area or outdoors to avoid any harmful fumes from your spray paint.
- Cover each tree well on both sides to avoid any white spots. You can refer to any guides that teaches you how to spray paint correctly.
- Next, apply your black spray paint unto the tip of the branches/trees lightly.
- Once done, take out the hair spray. Spray on the upper part of the body and keep it away from the trunk of the tree as the hair spray will be responsible for holding your foliage and you might want the your glue to be on the top part.
Step 3 – Adding Your Foliage
We are now ready to apply the foliage that would act as the tree’s leaves. This step will require you the ground foam mentioned previously on our list of what you need.
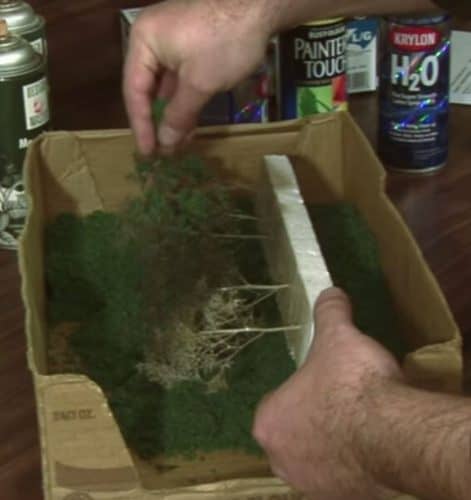
- Place a reasonable amount of ground foam on a spacious box.
- Hold the trees that you have stuck into a Styrofoam over the box and start sprinkling the foam on the top part of the trees.
- The box will catch all the excess foliage/ground foam and will also keep your workplace neat, clean and organized.
- The best application of the ground foam would be lightly dense so that the tree would have a see-through quality, that of a normal tree. But it all depends on your preference.
- This does not require you to dry at as the hair spray dries fast and will reliably hold the foliage, you can now proceed unto spraying it with a mix or green and yellow spray paint and you are now good to go.
Repeat the steps unto other trees you still have that didn’t fit unto the Styrofoam. It is now basically easy for the rest/remaining trees as you now have the idea and knowledge of what you are doing.
Step 4 – Placing the Tree to Your Model Terrain
What would be the use of creating your model trees if you won’t apply them to your model terrain? This is the next and the final step where you can creatively find a way how to place them unto your model terrain or model railroad layout. The guide below is fairly optional if you have other ways to place them.
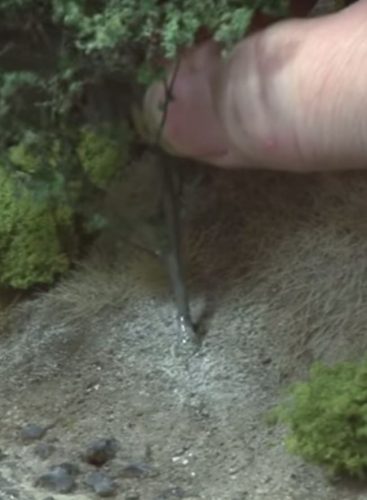
- Grab a pointy object such as a screw driver and pinch a tiny hole in the area of your model railroad terrain to where you want to apply your trees.
- Dip the pointy edge of your model tree unto glue or apply some glue sticks using your glue gun and place them on the hole you have created. Make sure that it is place on a proper, up-right position.
- Do the same on process of pinching a hole and gluing your trees on the designated area of your design or layout.
Conclusion
This concludes our guide on how to make your own trees for your model railroad. As you can see, all the steps are fairly simple and detailed. That is to help you build your confidence and expand your creativity at a fairly cheap and reasonable price rather than spending a large sum of money to a pre-made or ready-made model railroad products that does not even come close to what your imagination really wants.
Of course, there are also other steps and guides you can follow in building other detailed models such as tunnels, roads, mountain terrain and more such as how to build a train table.
Feel free to leave a comment about other ideas you have on the comment below or if you have any suggestions or techniques in crafting your own trees for your model railroad. Don’t forget to share this wonderful guide and tip if you liked it!